Less Stress… More Jewelry Making

For the first time in a very long time I find myself stress-free and just living in the moment.  I’ve had a wonderful Christmas season so far decorating the house, having friends over for dinner and holiday shopping with my husband who has been a big trooper on our various Riverhead runs! As I write this I have fabulous Christmas music playing on Pandora and Bogey is hanging out next to me (okay… not right next to me, on the other chair).  Here is glimpse of our holiday décor. 

 Image

I feel extremely thankful for everyone and everything in my life.  This is probably the calm before the storm as school starts back up again in January.  I’m going to soak up the next few weeks before I go back to classes, research and papers (who am I kidding… I can’t wait!!). 


So I’ve been busy making lots of jewelry, which I will share after the holidays in order to keep secrets from certain readers (hint-hint!).  Here is a bracelet I made to match the necklace I shared previously.  I again made it a bit small but I found that my other bracelet has stretched and fits pretty well now. 

ImageImage

Surrounded By Creativity


Let me begin by saying I have not been neglecting my beading, I simply have not posted and for that I get a slap on the wrist. The good news is that my job is going fabulous and I have managed to use my creativity in many other ways. I started a preschool craft binder that is alphabetized by the letter of the week and sorted by holiday. I also created a Science Discovery Box and two Science Posters to go along with it.

So even while the kids are keeping me very busy and on my toes, I have still managed to do a few jewelry projects.  The project I’m going to be sharing today is a necklace. I decided to attempt using leather. Some of my favorite pieces that I own incorporate a leather element.  There was a bit of trial and error involved in figuring out the knots. Luckily my sailing skills came in handy.  I also ordered some buttons to use as clasps.  I went through many stages with this necklace and kept finding little accents to add which created some character as I went along. My intent was to have two stands of beads coming from the leather but I ran out of beads (they go so quickly!).

Let me know what you think!

Take Two (or Ten)

I’m going to start off by saying I’m quite impressed with myself on my most recent jewelry making undertaking. I wanted to see if, with the right materials, I could produce something worthy of wearing out and about. This brought me to the simple multistrand bracelet project. The basics of a multistrand project are very simple, however the lesson I learned is that even though it is simple it may take two (or 10) tries to get the length right. My first attempt created a beautiful bracelet that was by far too small. So I clipped the wire on that one and started over. I think I went through at least 10 crimping beads and restarts because I kept breaking the spacer beads right next to the crimp. After at least an hour and my husband looking at me like I was crazy from the couch behind me every time I would cry out “noooo” in defeat when breaking a spacer bead, I finally created one of my best projects so far.


Shambala Style Bracelets

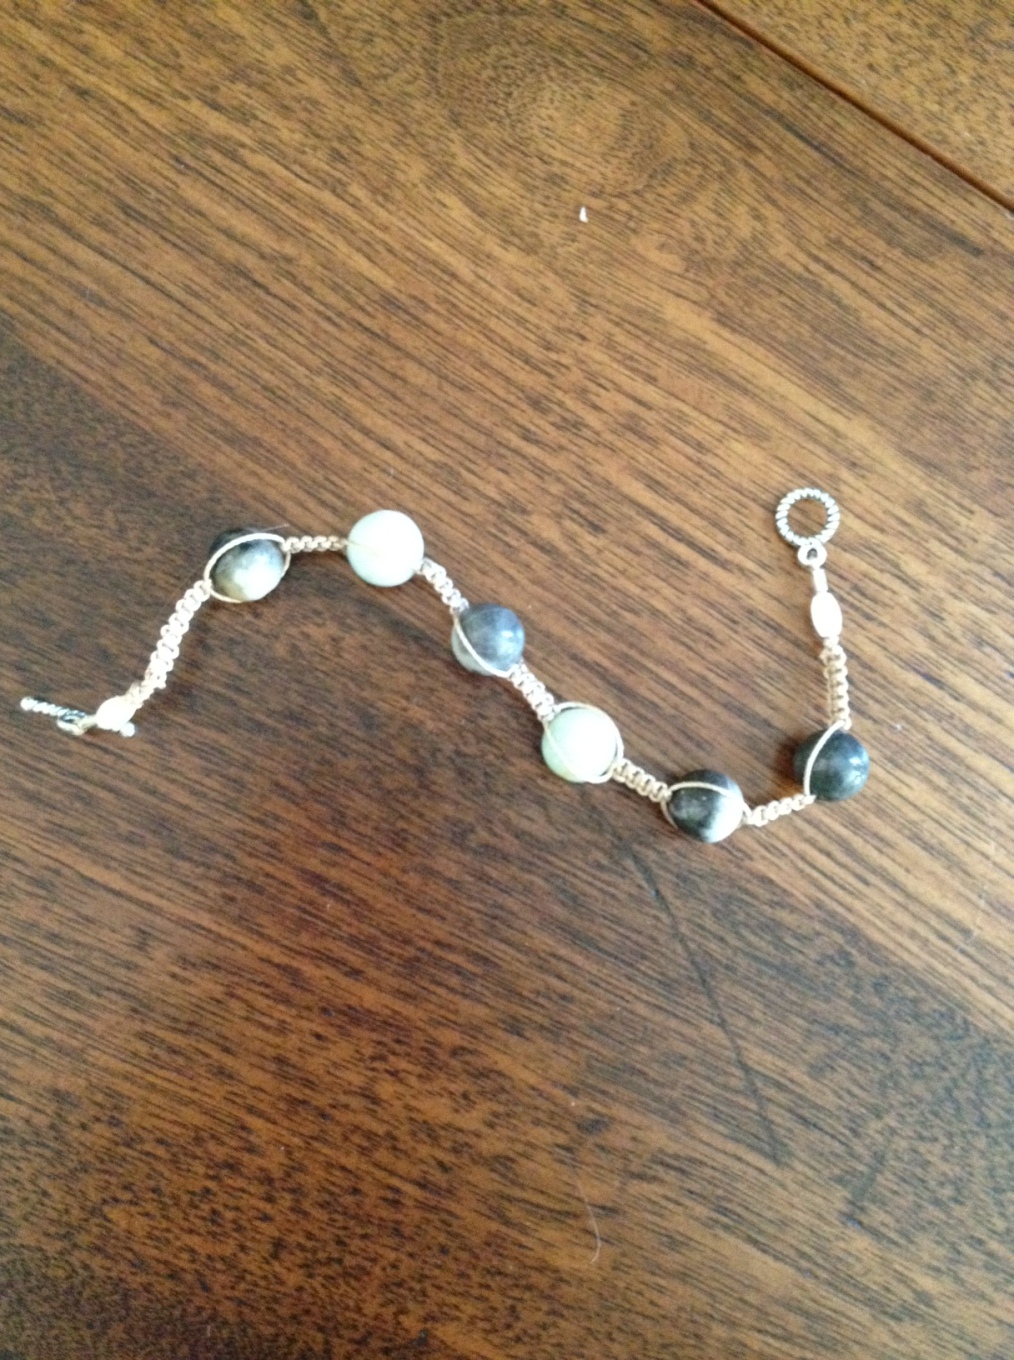
During my jewelry making research I came across the very popular Shambala style bracelets that are now sweeping the country. After looking at a few tutorials and getting (more or less) the correct materials I figured I could give it a try.  First to give you a bit of history surrounding the bracelets; the word Shambala (also spelled Shambhala) has both spiritual and mystical roots.  Tibetan Buddhist traditions believe Shambala is a mythical kingdom hidden somewhere in inner Asia.  There are also nature and healing properties associated with Shambala. The bracelet design is very basic and uses the macramé square knot as its foundation.  For my attempt,  I made it even simpler by using a clasp instead of a slip knot to compete the bracelet (this may not make it an “official” Shambala bracelet, but that’s all semantics!).


For my bracelet I used a warm neutral S-Lon Bead Cord #18 twisted nylon. I used some simple beads I had from my first bead shopping trip.  Tying the macramé knot was simple, what I found difficult was determining the length and how many beads to incorporate. I have been known to have really small wrists, so making this bracelet fit me makes it look like children’s jewelry!  Overall I’m very pleased with how it came out. The only other set back was when my cat thought my bracelet making was a perfect time to chase the S-Lon that was flying around.  Take a look and let me know what you think!

ImageImageImage

Friendship Necklaces

For my next project I made two necklaces for two very special people, my cousins.  This past summer working at a summer camp teaching sailing reminded me how much I used to enjoy making friendship bracelets as a kid.  So I followed a basic pattern and used bamboo cord to make necklaces. As you can see, they are very simple. I just braided one and used a simple knot for the other to hold the beads in place.  I think this was an essential step though to make sure I remembered how to do some basic “friendship-like” jewelry. After I completed my projects I rushed them to the mail and sent them off to my cousins. A few days later I got a wonderful phone call from them thanking me!

In other bead making news, I actually went to an offical beading store and got many much needed supplies. These include round-nose pliers, bead stringing wire, s-lon bead cord (in some fabulous earth tones!), and of course beads. Planning on doing my next project soon. I have also found a part-time job teaching at a pre-school! The students are super cute and the teachers very nice to work with. At least it will offset some supply costs!

Earrings

My second jewelry project is now complete! I have created not one pair of earrings to match the necklace, but two sets of earrings. I never worked with headpins before and found it actually pretty easy and fun to shape and mold the wire. After selecting my beads which followed a similar pattern to my necklace, I discovered I again did not have the correct tools. When making the wrapped loop at the top I used my flatnose pliers and quickly realized that I was in desperate need of some roundnose pliers in order to make a decent looking loop. Besides that slight setback I’m pretty happy with how the earrings came out. I was so proud of my new matching set that I wore the necklace and earrings to a babysitting job I had lined up. The moment I walked through the door one of the little girls gave me a big hug and while looking up at me with these big wonderous eyes says, “I love your necklace, did you make those?” I smiled and laughed and told her I had in fact made them.  Even though the compliment came from a four year old I was pretty proud of my work. Who knows, perhaps my future market is in children’s jewelry!

The Absolute Beginners Guide

So I did it! I walked right into Michael’s Craft Store, (which is a big feat in and of itself because it takes me an hour to get to!) took a sharp right and found myself surrounded by beads, jewels, string, wire, and cutting tools. Basically rows and rows of confusion and an empty shopping cart. I will say I felt pretty invigorated at that point because I was making a choice for myself; not for anyone else nor being pressured by anyone else.  I simply walked the isles picking up some cheap beads to practice with.  Thankfully I stumbled upon a section that contained beading books. I instantly picked up the one titled, “The Absolute Beginners Guide – Stringing Beaded Jewelry – Everything You Need to Know to Get Started.” Perfect! As I flipped through the book I realized I would need a few more thing in my cart; pliers, crimping pliers, spacer beads, crimp tubes, clasps, wire and some earring wires. I checked out (with plenty of coupons… I’m still a crafter on a budget!) and headed home.

New Beading Supplies

I decided that if I’m going to take this head on I would need a space in the house dedicated to my new project. My husband thought it was a great idea and we relocated an extra table in the living room for all my beading needs. Being a perfectionist at heart, I did not want to mess up my first creation and pretty much went step by step with my first project which is the “simple strung necklace.”  The first thing I immediately realized is that I had the wrong beading wire! I had bought a super stiff 26-gauge wire, but what I really needed was flexible beading wire. However, I completed my first necklace and learned how to attach a clasp at the end using a spacer bead and crimp tube.  Overall a pretty successful day.  The necklace came out symmetrical and fits around my neck!

Project 1 Complete! Tomorrow I will attempt matching earrings!

My First Necklace Completed

Successful Clasp Creation